Ever settled in for a movie night or gaming session only to be greeted by a black screen, strobing flashes, or a pixelated mess? HDMI cables are the backbone of home entertainment—until they fail. This guide breaks down the three most frustrating HDMI headaches, with quick, actionable fixes to get your setup back to perfect in minutes.
There’s nothing more anticlimactic than hitting “play” and seeing “No Signal” stare back at you. Loose connections and compatibility gaps are usually to blame.
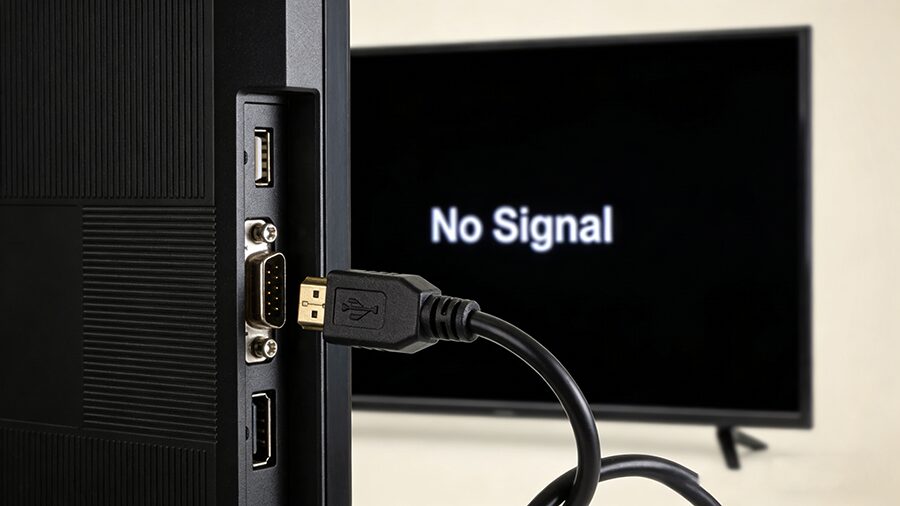
- Reseat the Cable: Unplug the HDMI cable from both your source (console, Blu-ray player) and display (TV/monitor). Wait 30 seconds, then firmly reinsert until you hear a click. Loose connections cause 70% of no-signal issues!
- Test a Different Port: HDMI ports wear out over time. Swap the cable to an unused port on your TV or source device.
- Power Cycle Devices: Turn off both devices, unplug them from the wall for 60 seconds, then restart. This clears temporary firmware glitches.
- Verify Input Source: Use your TV remote to confirm you’ve selected the correct HDMI input (e.g., “HDMI 2”).
- Try a Spare Cable: Borrow a working HDMI cable (matching your device’s version) to rule out a damaged cord.
Flickering screens don’t just ruin immersion—they can strain your eyes. Most cases stem from signal degradation or mismatched settings.
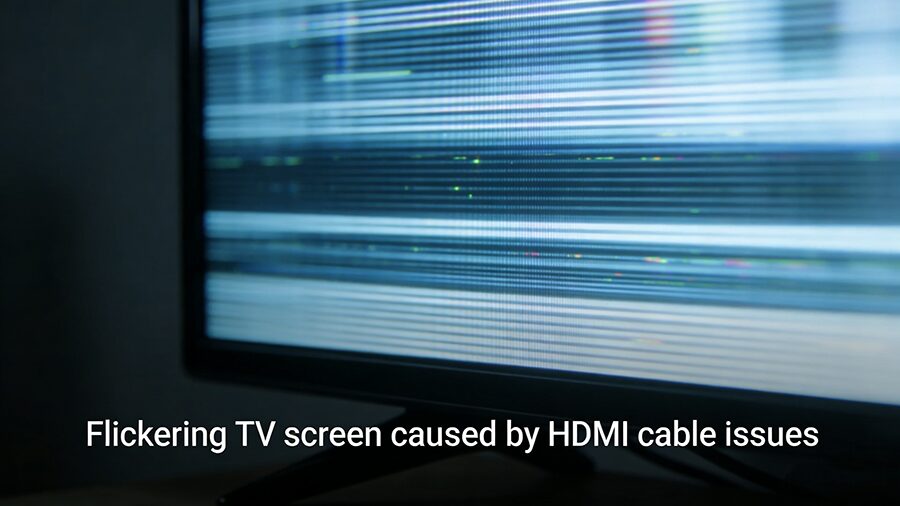
- Match Refresh Rates: Go to your TV’s settings and set the refresh rate to match your source device (e.g., 60Hz for streaming, 120Hz for gaming). Mismatched rates are the top flicker culprit.
- Upgrade to a Certified Cable: Long, uncertified HDMI cables can’t handle high-bandwidth signals (like 4K/60Hz). Opt for a Premium HDMI 2.0 or Ultra High Speed HDMI 2.1 cable for reliable performance.
- Eliminate EMI: Keep HDMI cables away from power cords, Wi-Fi routers, or speakers—electromagnetic interference causes random flickering. Use shielded cables for tight spaces.
- Shorten Cable Length: Cables over 10ft (3m) lose signal strength. Swap for a shorter cable, or add an HDMI signal booster if you need extra length.
A blurry, soft image defeats the point of 4K/8K displays. Dirty connectors, low-quality cables, or misaligned settings are usually the problem.

- Clean Connectors: Dust or corrosion on HDMI pins distorts signals. Gently wipe the cable ends and port with a dry microfiber cloth (no liquids!).
- Set Native Resolution: Most TVs have a “native” resolution (e.g., 3840×2160 for 4K). Go to your source device’s settings and match this resolution—scaling causes blurriness.
- Ditch Cheap Cables: Thin, unbranded HDMI cables can’t transmit high-resolution signals clearly. Invest in a reputable brand (e.g., Monoprice, Belkin) with version certification.
- Disable Overscan: Many TVs stretch images to fill the screen, softening edges. Turn on “1:1 Pixel Mapping” or disable “Overscan” in your display settings.
Most issues stem from using the wrong HDMI version for your device. Use this chart to check compatibility:
- Buy Certified Cables: Look for the “Premium HDMI” or “Ultra High Speed HDMI” logo to ensure they meet bandwidth standards.
- Avoid Bending Cables: Sharp kinks damage internal conductors. Route cables with gentle curves.
- Update Firmware: Check your TV and source device’s manufacturer website for software updates—old firmware causes compatibility bugs.

Comments
Post a Comment